I recently switched from VirtualBox to KVM for my virtualization needs. While this approach has clear advantages such as not requiring custom kernel drivers, the downside is that snapshots aren’t currently supported for Windows 11. And since I don’t want applications I analyze to corrupt my main Windows VM, I decided that I should run these in freshly created Windows VMs.
The issue with this approach is: setting up a new Windows VM is fairly time-consuming. Not only is it necessary to answer a number of questions during installation, installing the proper guest tools for KVM is non-trivial as well. And I also rely on some further applications for my work.
Luckily, Windows installation supports answer files which make this task far easier. With the right answer file and some scripts, setting up a Windows VM is a fully automated task that takes half an hour and none of my attention. The necessary information was rather scattered and often outdated, so I decided to put it all into one blog post.
Contents
Preparing the installation medium
With current Windows versions, there is an official way of getting an installation medium: via the Microsoft web page. I asked for the Windows 11 x64 disk image in English and got a file named Win11_22H2_English_x64v1.iso.
This image needs to be modified in order to add the autounattend.xml file and any scripts required. On Linux, this is fairly easy. First, you need a copy of the data:
mkdir mnt
sudo mount -o loop Win11_22H2_English_x64v1.iso mnt
mkdir win11_iso
cp -r mnt/* win11_iso/
sudo umount mnt
rm -rf mnt
You could modify the data in the win11_iso directory, but it’s probably better to keep your modifications in a separate directory. This way you can easily replace win11_iso with a newer Windows version.
So let’s say you create a win11_iso_modifications directory for your additions like the autounattend.xml file. How does one create a new installation medium with these modifications? Today the magic incantation to produce the right kind of disk image appears to be:
mkisofs \
    -iso-level 4 \
    -rock \
    -disable-deep-relocation \
    -untranslated-filenames \
    -b boot/etfsboot.com \
    -no-emul-boot \
    -boot-load-size 8 \
    -eltorito-alt-boot \
    -eltorito-platform efi \
    -b efi/microsoft/boot/efisys_noprompt.bin \
    -o Win11_22H2_English_x64v1_modified.iso \
    win11_iso win11_iso_modifications
This will merge the original win11_iso directory with the additions from the win11_iso_modifications directory and produce Win11_22H2_English_x64v1_modified.iso disk image which can be used to install Windows.
Creating an answer file
Much of the autounattend.xml boilerplate can be generated using the online generator created by Christoph Schneegans. You can choose the VM’s hard drive to be partitioned with GPT automatically, and you can select the user accounts you need. “Focus on privacy” will automatically configure your system to transmit less data to Microsoft.
Some things can be improved of course. For example, I don’t actually need a password to protect access to a temporary VM. According to the Rufus tool, replacing the <Password> tag with the following undocumented value sets an empty password:
<Password>
  <Value>UABhAHMAcwB3AG8AcgBkAA==</Value>
  <PlainText>false</PlainText>
</Password>
I did not actually verify that Windows treats the string Password like an empty password because I’ve also set up autologon. This is highly recommendable as Windows will spend a fair deal of time setting up everything on first logon. So it’s better for this first logon to happen automatically after the installation.
The <AutoLogon /> tag needs to be replaced by the following (use the user name you chose for your account):
<AutoLogon>
  <Username>Admin</Username>
  <Password>
    <Value>UABhAHMAcwB3AG8AcgBkAA==</Value>
    <PlainText>false</PlainText>
  </Password>
  <Enabled>true</Enabled>
  <LogonCount>9999999</LogonCount>
</AutoLogon>
Finally, answer files support running custom commands at various points of the installation process. This is useful to install required applications and to change settings. I tried doing most tasks in the specialize pass: the commands execute elevated here, so installers can run without stalling on an elevation prompt. I put everything required into a PowerShell script, this is easier to manage and to debug. To run the script, one would replace <settings pass="specialize" /> in autounattend.xml with:
<settings pass="specialize">
  <component name="Microsoft-Windows-Deployment" processorArchitecture="amd64" publicKeyToken="31bf3856ad364e35" language="neutral" versionScope="nonSxS">
    <RunSynchronous>
      <RunSynchronousCommand wcm:action="add">
        <Order>1</Order>
        <Path>powershell.exe -noprofile -ExecutionPolicy unrestricted C:\Windows\Setup\Scripts\InstallRequirements.ps1</Path>
      </RunSynchronousCommand>
    </RunSynchronous>
  </component>
</settings>
A few things cannot be customized on the operating system level however, these are specific to the user account you create. For example, you might want to change Windows Explorer settings so that it doesn’t hide any files from you. This is another PowerShell script, executed during the first user logon. You put the following code after the <AutoLogon> block mentioned above:
<FirstLogonCommands>
  <SynchronousCommand wcm:action="add">
    <Order>1</Order>
    <CommandLine>powershell.exe -noprofile -ExecutionPolicy unrestricted C:\Windows\Setup\Scripts\FirstRun.ps1</CommandLine>
  </SynchronousCommand>
</FirstLogonCommands>
The custom setup scripts
How do the scripts InstallRequirements.ps1 and FirstRun.ps1 get into our fresh Windows install? These need to be in the right directory of the installation medium, specifically the $OEM$/$$/Setup/Scripts directory. You create it inside your win11_iso_modifications directory and any files you put here will land in C:\Windows\Setup\Scripts.
I use PowerShell rather than plain batch files because PowerShell scripts can do a lot without requiring installation of third party tools. For example, they can both download and install SPICE Agent to enable clipboard sharing:
Invoke-WebRequest `
  -Uri https://www.spice-space.org/download/windows/vdagent/vdagent-win-0.10.0/spice-vdagent-x64-0.10.0.msi `
  -OutFile "C:\Windows\Temp\spice-vdagent.msi"
Invoke-Expression "msiexec /i C:\Windows\Temp\spice-vdagent.msi /qn /norestart"
Note that I chose not to install the full SPICE guest tools because the driver installation here will require a user confirmation. Instead, I install the drivers via virtio guest tools:
Invoke-WebRequest `
  -Uri https://fedorapeople.org/groups/virt/virtio-win/direct-downloads/archive-virtio/virtio-win-0.1.229-1/virtio-win-gt-x64.msi `
  -OutFile "C:\Windows\Temp\virtio-gt.msi"
Invoke-Expression "msiexec /i C:\Windows\Temp\virtio-gt.msi /qn /norestart"
A somewhat more complicated task is downloading and unpacking Process Explorer as well as adding the Windows registry entry to replace the default task manager:
Invoke-WebRequest -Uri https://download.sysinternals.com/files/ProcessExplorer.zip `
  -OutFile "C:\Windows\Temp\procexp.zip"
Expand-Archive -Path "C:\Windows\Temp\procexp.zip" `
  -Destination "C:\Windows\Temp\procexp" -Force
Copy-Item -Path "C:\Windows\Temp\procexp\procexp64.exe" `
  -Destination "C:\Program Files"
New-Item "HKLM:SOFTWARE\Microsoft\Windows NT\CurrentVersion\Image File Execution Options\taskmgr.exe" | Out-Null
New-ItemProperty "HKLM:SOFTWARE\Microsoft\Windows NT\CurrentVersion\Image File Execution Options\taskmgr.exe" `
  -Name Debugger -Value "C:\Program Files\procexp64.exe" | Out-Null
PowerShell can even be used to do the fairly complicated Windows API dance required to change screen resolution. Unfortunately, while the code samples found online work for me under regular conditions, they have no effect when executed on first logon.
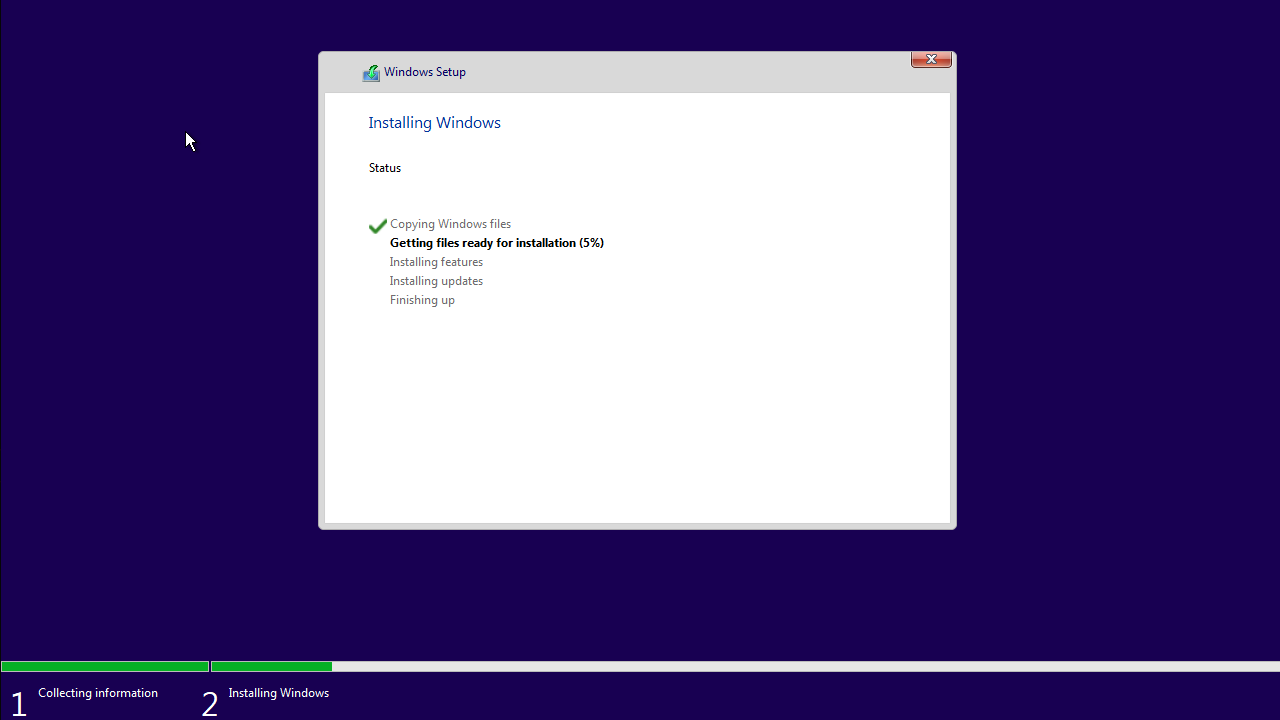
Starting the installation process
One would assume that starting the installation is merely a matter of creating a VM and giving it the installation medium. There are two slight complications however:
- Booting from a DVD doesn’t happen automatically, it needs to be confirmed by pressing some key.
- The first reboot of the Windows setup process will actually shut down the VM for some reason.
Edit (2023-11-30): The first issue had a much simpler fix than what I listed here originally, using efisys_noprompt.bin instead of efisys.bin. Thanks to the commenter VM for pointing this out.
I solved the second issue in my script by waiting for the VM to shut down, then starting it again. In the end, this is the script I’ve got:
virt-install --name=win11 \
  --vcpus=2 \
  --memory=8192 \
  --cdrom=/path/to/Win11_22H2_English_x64v1_modified.iso \
  --disk size=64 \
  --video virtio \
  --os-variant=win11

sleep 1
virsh start win11
virt-viewer win11
Note that two CPU cores, 8 GB of memory and 64 GB of hard drive space are the minimal requirements for a Windows installation. Your preferred hardware configuration might be different.
Comments
Hi, how do you deal with the TMP v2 requirement for Windows 11 VMs?
There's an emulated TPM available but it seems it's detected and some updates can't install anyway.
I didn’t have this issue.
@JMN, I solved it like this: --tpm emulator
But I am running on the press any key to start cd screen, any one know how to avoid this ?
regards
What version of linux are you running? Using RHEL 8, mkisofs does not have the option for "-eltorito-platform efi."
Apparently, I’m running xorrisofs 1.5.4 as mkisofs.
For DVD keypress issue:
mkisofs -b efi/microsoft/boot/efisys_noprompt.bin